A ROSE GARDEN PORTRAIT
A ROSE GARDEN PORTRAIT
JUNE 7, 2025
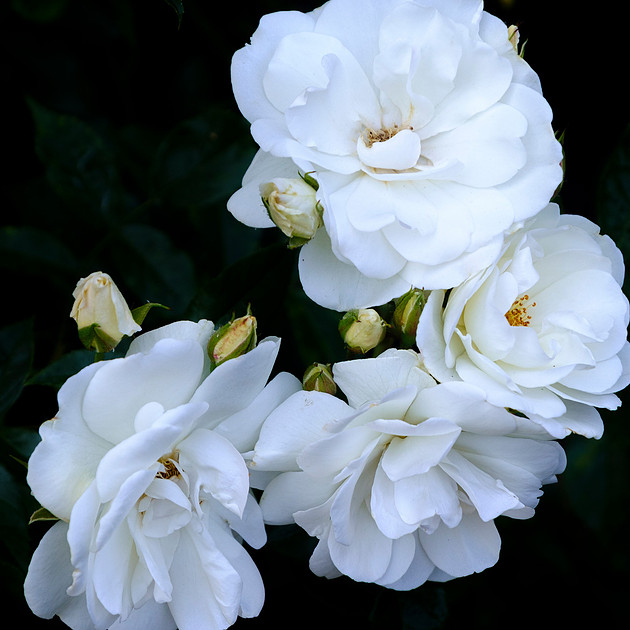
 A WHITE ROSE WITH YELLOW BUDS! A "CLUMP" OF FOUR ROSES AT PORTLAND'S ROSE GARDEN.
This week I would like to concentrate on just one image that will illustrate my strategies for creating images that reflect my vision rather than documenting the subject at hand. Friends had come to Portland for a couple of days, it was actually nice out, and a trip to the Portland Rose Garden was in order.
I’ve been to the garden millions of times, but this was the first time with my new/old Fuji, so I was eager to see how it would change my routine in creating what I call flower portraits. I have done so many of these that I am frankly bored with them - I have a system, and it works for me, and there’s not much to it. The challenge I set for myself these days is to shoot what I call “clumps” - more than one flower - to keep it interesting. This intermediate position is on the way towards garden photography, which I consider very challenging as opposed to concentrating on one flower.
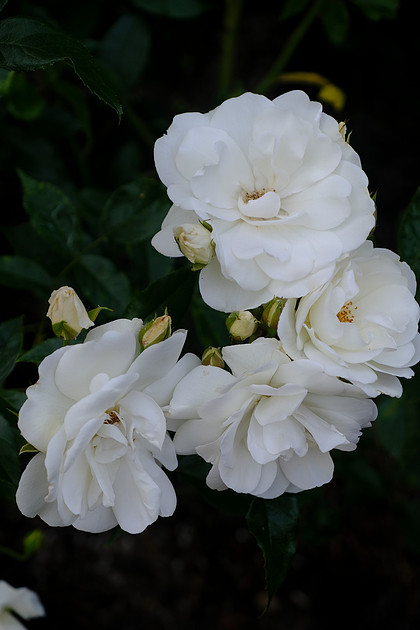 MY ORIGINAL SNAPSHOT OF THIS "CLUMP" OF WHITE ROSES, ONE OF ABOUT FIFTY SHOTS I TOOK IN THE HOUR.
The Fuji was, as per usual, as frustrating as it was delightful to use. This camera has so many controls, dials, and buttons that I’m still more concerned on not hitting them by accident than I am taking advantage of their power to facilitate image making. There are usually multiple ways to accomplish the same thing, which frequently confuses the issue since something has changed without my knowing what I have done. On the other hand, the advances in technology have certainly changed my shooting style in the garden. I have begun to concede that on a pleasant day there is absolutely no need to drag along the tripod. The Fuji can produce clean files at 6400 ISO, a clear four stops greater than my old Canon. Combine that with a camera that is half the size and weight, with improved vibration control, and no mirror to shake, and you have the ability to capture images without worrying too much about not being able to hand-hold the camera. I have begun to realize that I can produce very sharp close-ups at speeds as slow as 1/4 of a second, which is truly unbelievable. This ability to broaden the exposure parameters to at least eight times the range of my old Canon allows me to concentrate even further on what I want to achieve, rather than how I’m going to manage to somehow deal with the current lighting conditions.
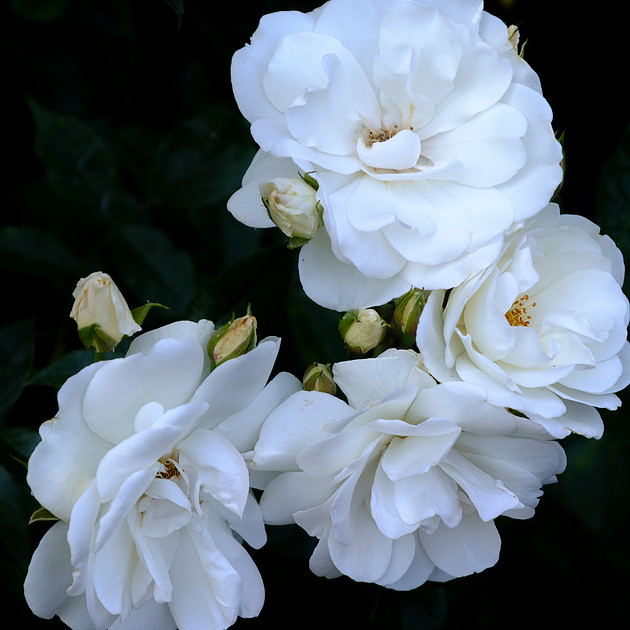 THE FIRST THING TO DO IS TO CROP.
In making a floral portrait, I use three main strategies. The first and most important is to reduce the context as much as possible through both cropping and exposure. The object is to concentrate almost solely on the flower head. If you can’t frame the image as tightly as you can in the field, then crop with abandon when you get home. In my way of looking at flowers, there is almost no limit to just “getting closer” as an overall compositional strategy. And there is no rule that says that you must show the entire bloom - just like in a human portrait, you can choose to leave out a little forehead.
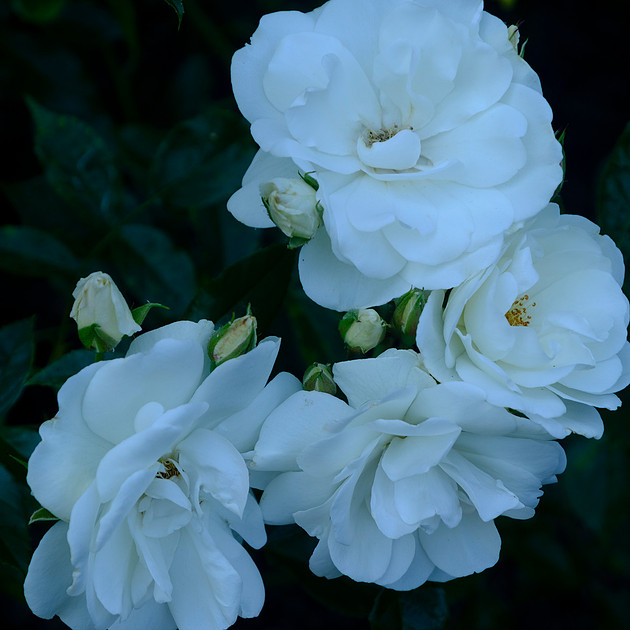 EXPERIMENT WITH THE WHITE BALANCE - THIS IS ACTUAL DAYLIGHT WHITE BALANCE, AND IT IS CLEARLY AN EXPERIMENT IN TERROR. THE "REAL" WHITE BALANCE IS COOL TO THE POINT OF BEING BLUE.
I also treat the white balance with a grain of salt. Choose whatever looks good before you’ve introduced an obvious color cast. Frequently something warmer or cooler than the actual conditions will produce a much better portrait than slavishly worrying about the truth. After all, it’s just one flower head, and if you’ve gotten close enough, whose to say that the actual color of the flower was way different than your interpretation? White balance will frequently affect color much more realistically than actually changing hues of colors directly, which male pattern color blindness will lead to less than satisfying renditions.
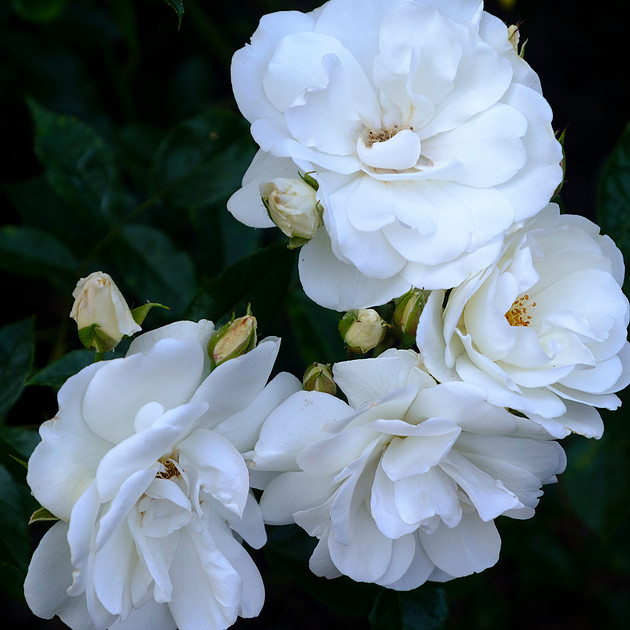 THANK GOD, WE ARE BACK TO "AS SHOT." BUT THERE ARE STILL TWO MAJOR THINGS LEFT TO DO. WE MUST CRUSH THE SHADOWS TO ELIMINATE THOSE PESKY LEAVES IN THE BACKGROUND. AT LEAST I THINK SO.
Finally, the best way to “shine a light” on your flower is to crush the shadows surrounding the bloom. Avoid dealing with the overall exposure by just lowering the surrounding shadows to near black, losing as much of the details of leaves, dirt, and branches as you can. If you can’t lower the shadows enough directly, you can use other selective color controls to reduce the saturation of those green leaves, or just use a vignette to lower the exposure of whatever context your crop has still allowed to dilute you floral portrait.
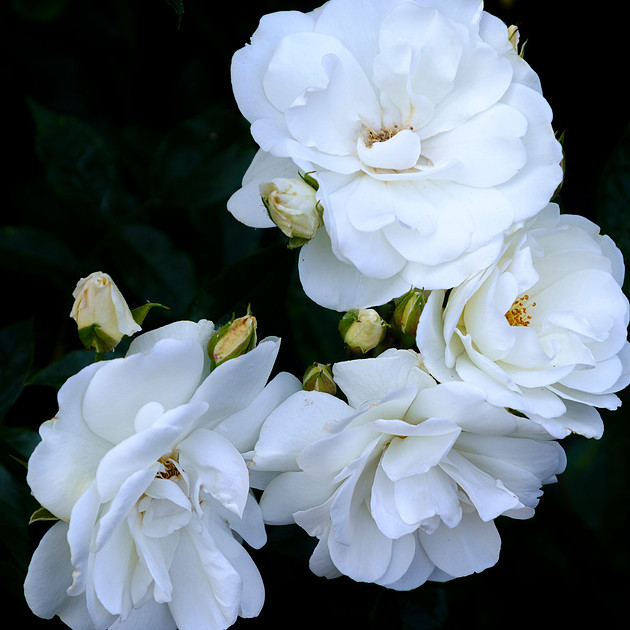 NOW THAT'S BETTER. NO MORE ANNOYING CONTEXT.
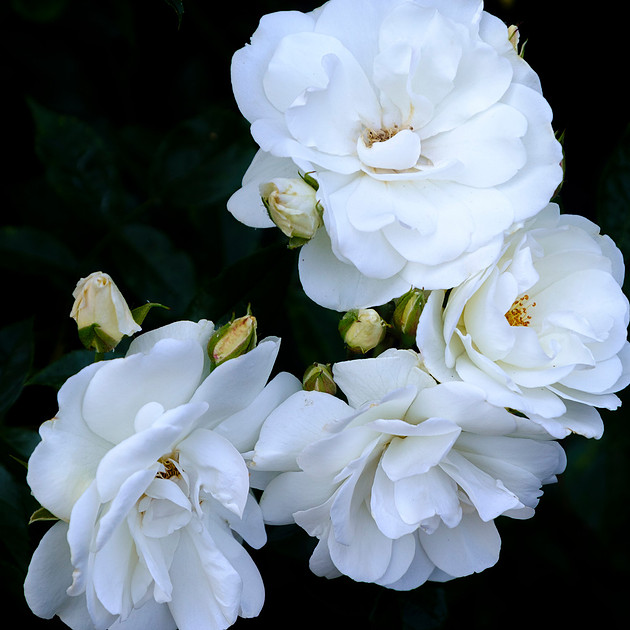 NOW DON'T INCREASE THE OVERALL EXPOSURE, JUST BOOST THE WHITES TO MAKE THESE WHITE ROSES COME ALIVE.
SOME SUBTLE CHANGES - BOOSTING THE YELLOWS FOR THOSE BUDS AND STAMENS, APPLYING SOME "TEXTURE" AND SHARPENING, AND WE ARE DONE.
Once you have made these three major changes, any other post processing is really just gilding the lily, even if you are shooting a rose. A little sharpening, a tiny increase in the saturation of the main color of your flower or one of it’s details, and you are done. There are many controls you can use to achieve nearly the same results, but as long as the viewer doesn’t “see” them, you have achieved your floral portrait.
