A SECOND LOOK AT THE SUMMIT
A SECOND LOOK AT THE SUMMIT
OCTOBER 3, 2025
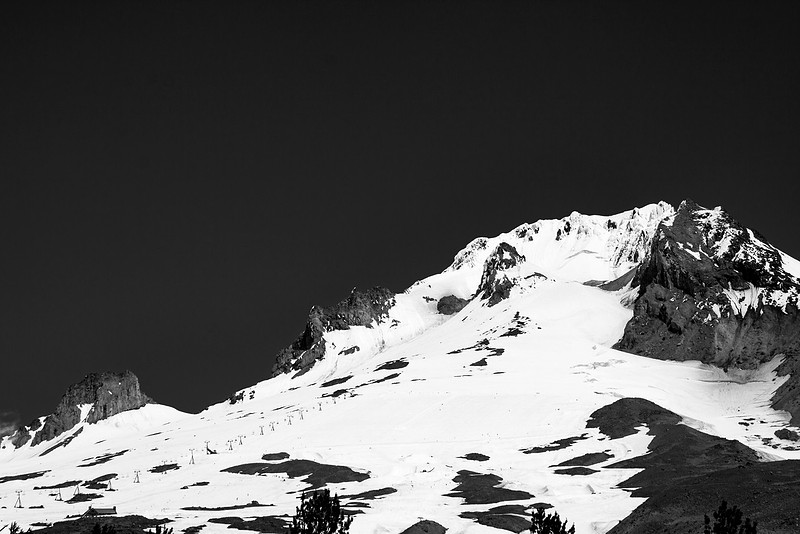

THE FINAL BLACK AND WHITE VERSION OF MY VIEW OF THE SUMMIT OF MT HOOD
This week I would like to take a close look at the summit of Mt. Hood. Or rather a second look, since the original photograph dates from 2012. In case you are worried, this view was taken a short distance from Timberline Lodge. Anyone, including me, can easily reach this spot after driving up a little more than half-way to the top. The biggest hazard one faces is your fellow drivers on the road up. My telephoto lens reaches across the remaining six thousand feet to the summit like it’s just across the street.
In reprocessing this image I went in search of an appropriate black and white conversion. This might surprise you since it was only last week that I subtly decried the “Cult of Black and White”, but you can’t say I’m not flexible. This is one of those cases where I believe that a well-crafted black and white version is much more meaningful than the typical original color snapshot. It just takes a little work to engineer the transformation.
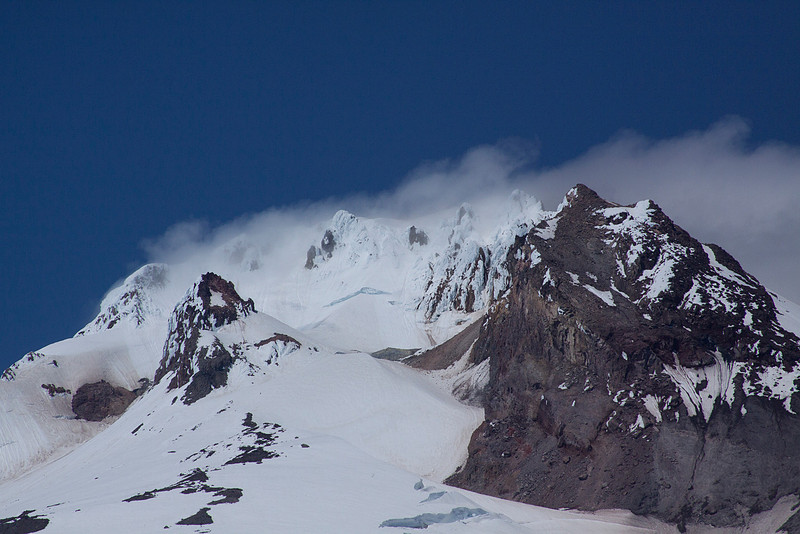
THE ORIGINAL COLOR SNAPSHOT
The original composition is just fine for my needs. As usual I am satisfied with just a fragment of the mountain. The telephoto allows me to get much “closer” than my feet can safely transport me, but I’ve left enough blue sky to place the mountain in it’s lofty context. There are no magical clouds about, but how often are you that close to the summit, unless you are a ski bum? You have got to work with what you get, even if you are only sixty miles away.
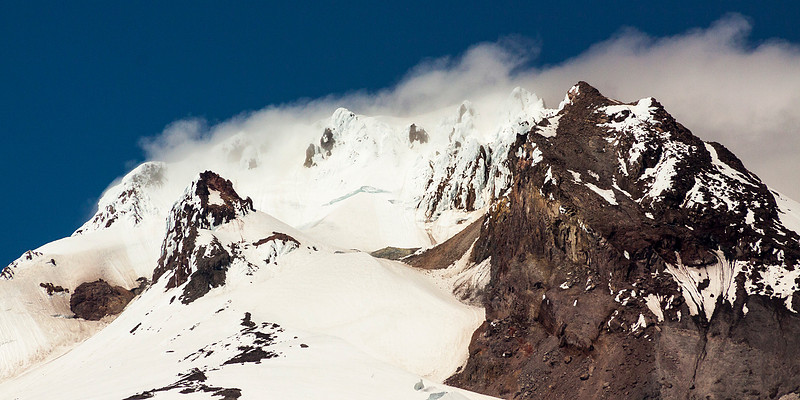
APPLYING THE PANORAMIC CROP FOCUSES ON THE SUMMIT
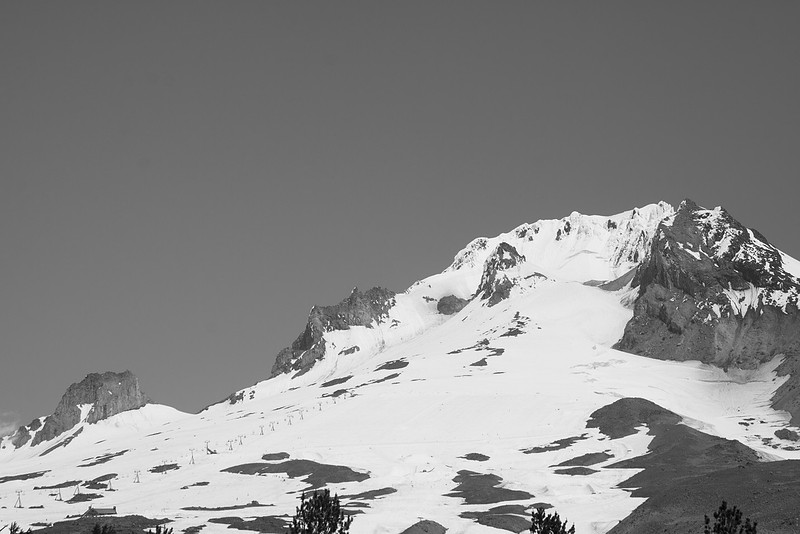
THE ORIGINAL BLACK AND WHITE CONVERSION
The first thing you do is to convert to black and white in Lightroom, which allows you to convert the colors to various shades of gray. It is at this stage that you can see how the camera “sees” differently from your human brain. Typically you lose all of the color contrast along with the color. In converting to black and white, you are now left with contrast being based on the “luminance” values of the scene. Often you are shocked to realize that very different colors are very close in luminance, and the first conversion to black and white is a very bland gray mess.
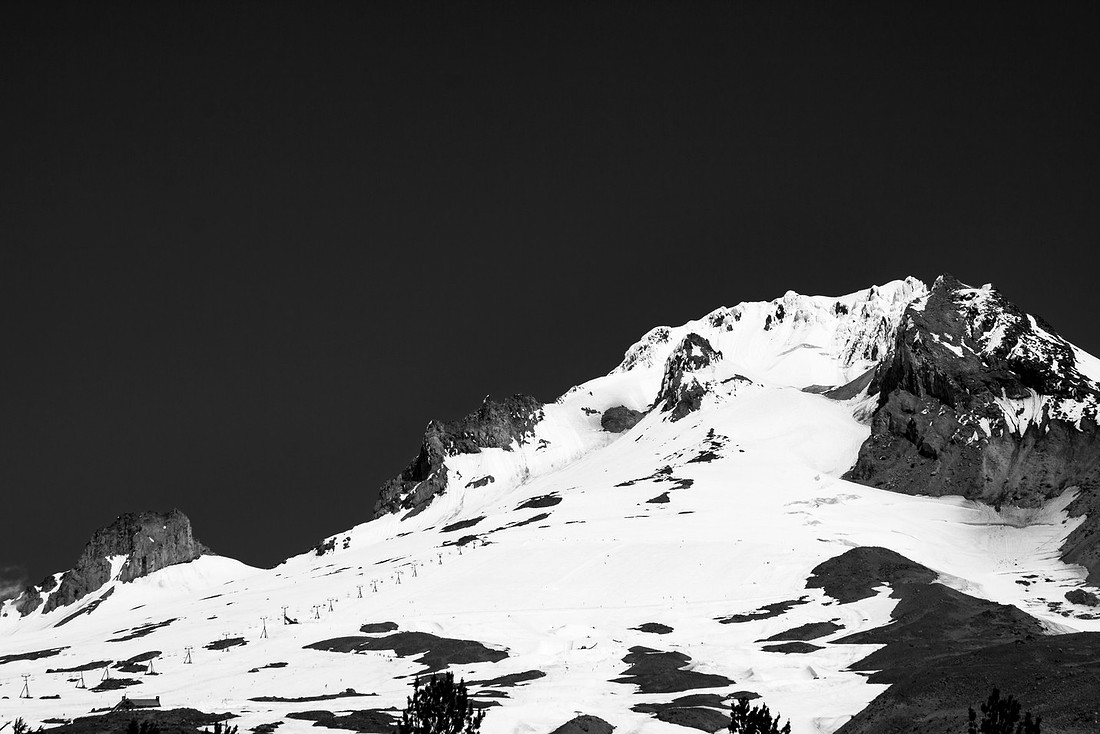
LOWERING THE BLACK LEVELS RENDERS THE BLACK PORTIONS OF THE IMAGE AS DEEPER BLACKS.
In working with Lightroom, you must attempt to realistically bring back contrast levels without any colors. The first thing I usually try is to lower the black level by deepening the blacks without affecting any other gray tones. You can really bring the blacks lower because our eyes are used to seeing many true blacks in the world, and they can adjust to a good amount of tones in your image that are black ink without any detail whatsoever.
INCREASING THE WHITE LEVEL ALLOWS FOR A TRUE WHITE TONE IN THE SNOW.
You must be more careful in raising the whites, since our eyes do not react as well to pure whites that have lost all detail - in essence the shear white of the photo paper. So you go as close to that level as you can without “clipping the whites” and losing all detail. But especially with snow, it had better be white or it will look like New York after a week of no snow removal. In fact the only thing that had “better be white” more than snow is the bride’s wedding dress. Your camera’s eyes are easily fooled by snow since it wants all of the colors (and whites) to be as close to the 18% gray that makes up the world as it can. So you frequently have to overrule the camera by over exposing the snow by up to three stops of exposure to get the whites you really want. Lightroom will allow you to just raise the whites without raising the overall exposure and mucking up everything else.
I’ve used Lightroom’s Dehaze control to increase the contrast in the mountain itself, since most of it is several thousand feet from where I am standing. I also apply the usual sharpening and noise reduction adjustments. I brush in some adjustments to raise only the shadows in the darker areas of the slope and the peaks along the ridge next to the sky. These adjustments are important, but I will admit that at these magnifications you might not see, much less appreciate, how they strengthen the image.
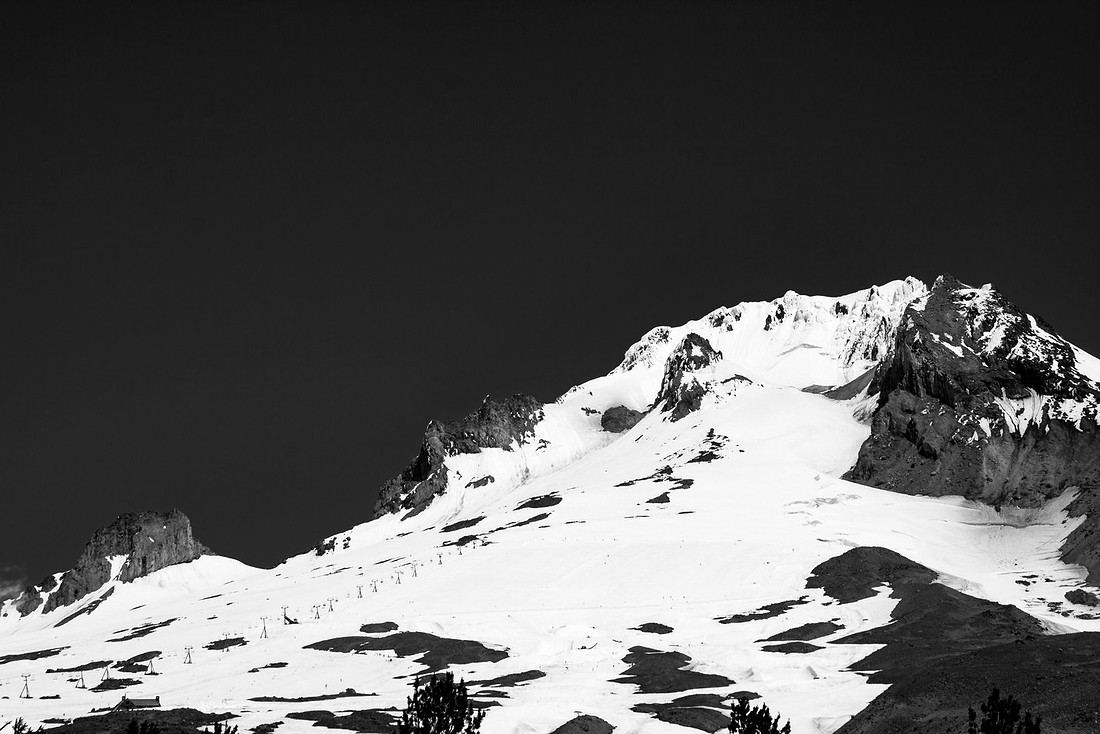
THE FINAL BLACK AND WHITE VERSION. THE SKY IS NOW RENDERED AS BLACK, WHILE THE PEAKS ALONG THE RIDGE ARE LIGHTENED TO SEPARATE THEM FROM THE SKY.
But it ii now time to transform the image and totally change the mood. I determine that the sky is till much too light. There are as usual many ways to darken one part of an image, but in this case I will reach back to the color information still existing “under” the black and white. That incredible clear blue mountain sky is the only part to the image that is “blue” and use Lightroom’s ability to just adjust one color, even if it is now just a shade of gray. I lower the luminance of the underlying blue to near zero, and suddenly I have the black sky that I was after - achieving a graphic contrast with the snowy mountain summit. And notice how you can finally see the world's highest ski run inching up the mountain in the midst of the snowfield.
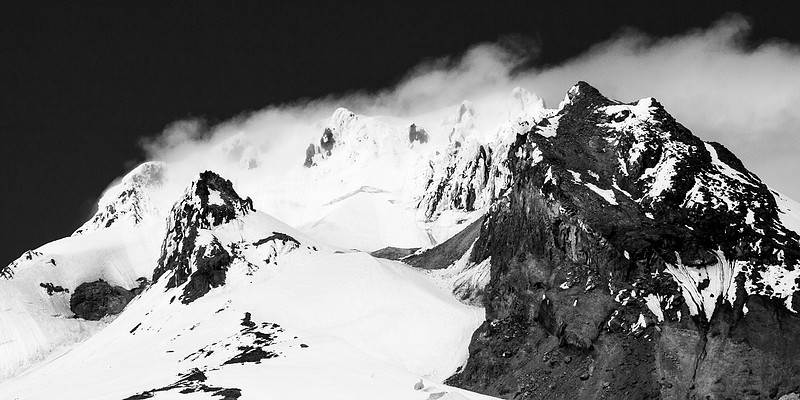
I love abstract imagery, and I delight in the fact that most viewer’s brains can totally accept a graphic landscape image that renders the sky as black, even though they have never seen a black sky before midnight. Black and white has allowed me to make this scene my own - and my black and white rendition will probably be significantly different from many other photographers who try the same strategy.
